Guide

How to sand hardwood floors step by step

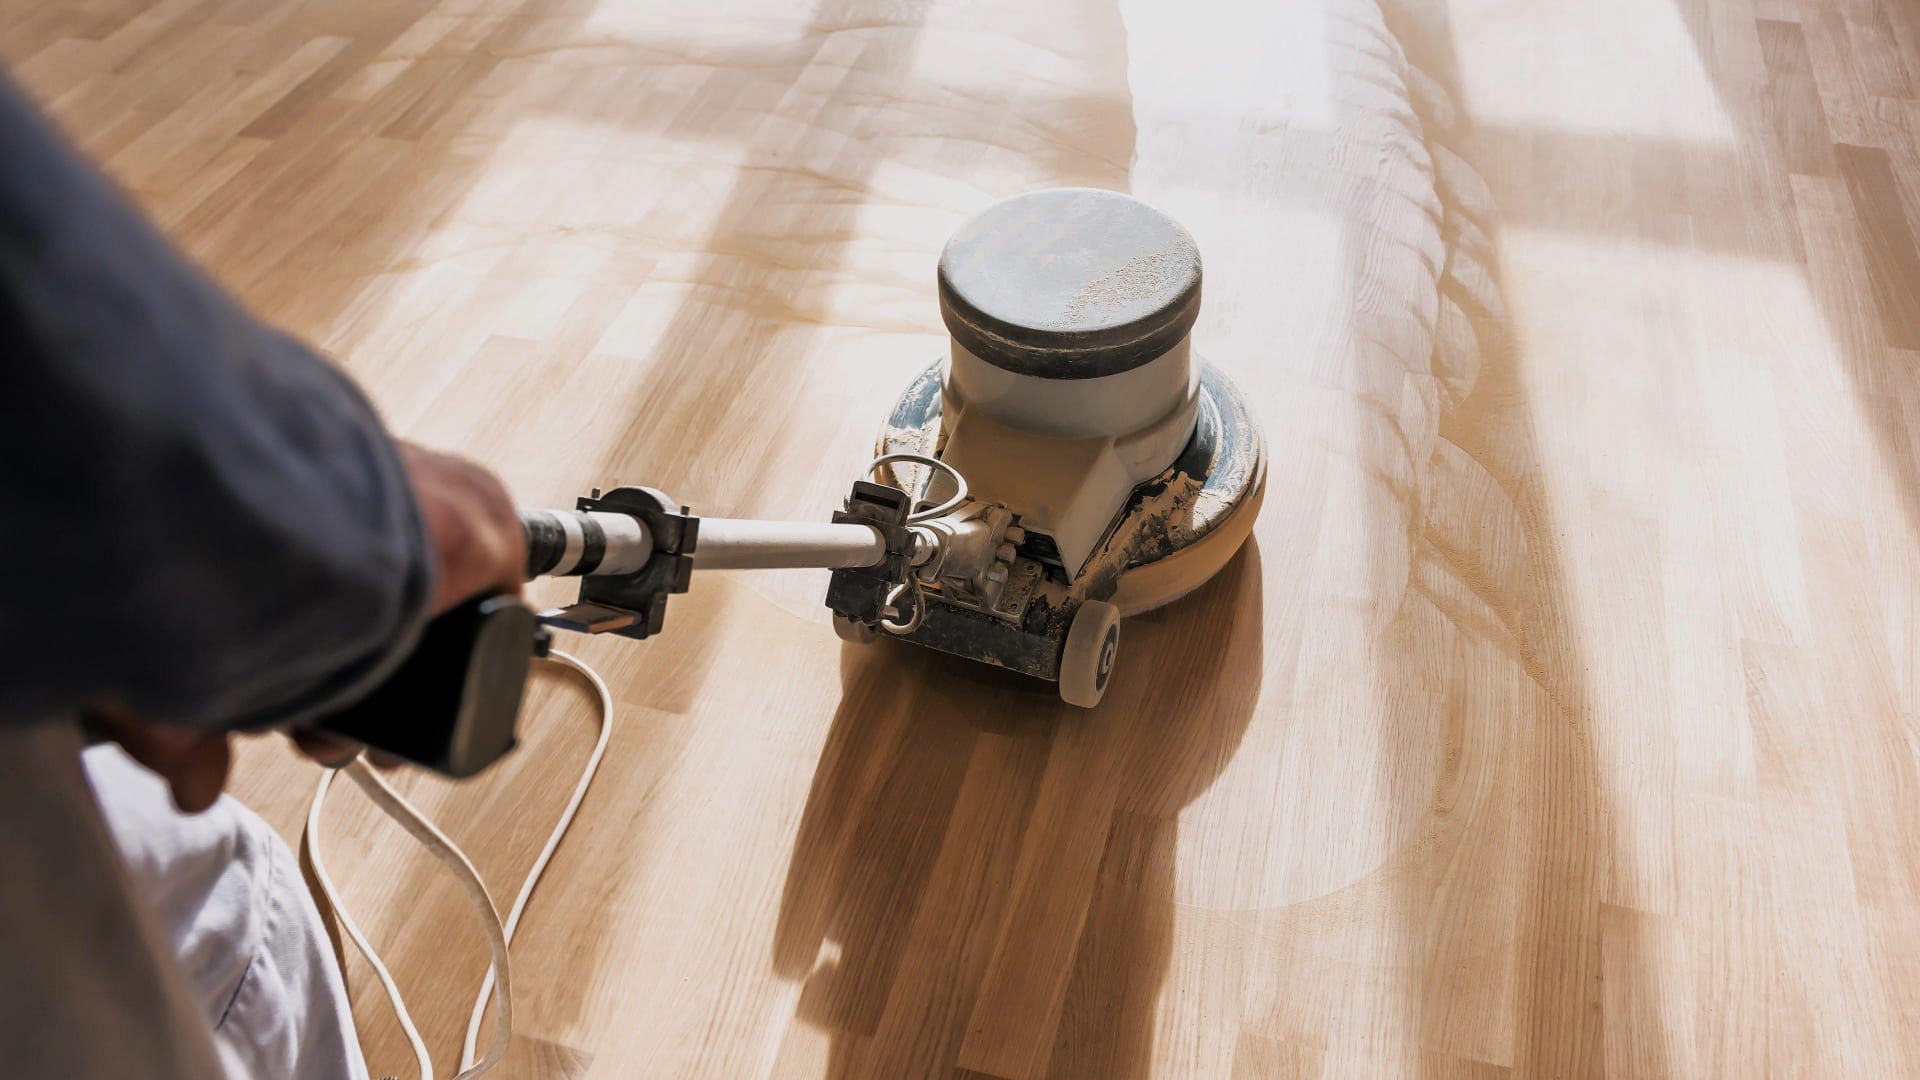
Travail de sablage en cours sur un plancher de bois franc avec une machine professionnelle pour redonner de l’éclat à la surface.

Refreshing a hardwood floor is often a key step in revamping a room or increasing the value of a space. Whether you're tackling a home renovation or maintaining a rental unit, sanding is an effective, accessible, and often simpler solution than you'd think. Here’s everything you need to know to bring your floor up to date, step by step.

Give your floor a fresh start

Over the years, even the most beautiful hardwood floors lose their shine. Scratches, scuff marks, worn-out finish… The good news? You don’t need to replace the entire floor to make it look new again.

Sanding removes imperfections and reveals the natural beauty of the wood, while preparing the surface for a new finish. With the right tools, a clear method, and a bit of patience, the result can be impressive.

"Tell us about your project, and we’ll recommend the right tools and equipment to help you get the job done right!

How to sand your floor

Sanding a hardwood floor requires precision and care, but it’s not a job reserved for professionals. With the right tools and a well-organized approach, it’s a project many DIYers can handle.

What you’ll need:

  • A drum floor sander for large areas
  • An edge sander for corners and edges
  • Sandpaper in various grits
  • A suitable vacuum to control dust

Pro tip: To minimize dust spreading throughout your home, connect a vacuum directly to your sander. This makes for a cleaner and more comfortable sanding process.

4 Steps to Refinish Your Hardwood Floor

1 – Prep the room

Before you begin, completely clear the room. Make sure all floorboards are secured and nothing is sticking out. A properly prepared floor is key to avoiding issues and achieving a smooth, even finish.

2 – Sanding the floor

Start with coarse-grit sandpaper to remove the old finish and fix any irregularities. Then, work your way up to finer grits for a smoother surface and a polished look. Always sand in the direction of the wood grain.

For tight areas like edges, corners, or around staircases, the edge sander will be your best ally.

3 – Clean the workspace

Once sanding is complete, it’s essential to clean thoroughly. Use a heavy-duty vacuum to remove all dust and debris. A clean surface will make it much easier to apply the finish properly.

4 – Apply the finish

Now it’s time to apply your finish of choice. Choose a product that meets your needs—eco-friendly, low-odor, fast-drying… The goal is to protect the wood and ensure your newly restored floor lasts for years to come.

The result? A transformed space

Refinishing a hardwood floor gives new life to the entire room. Once sanded and sealed, the wood regains its natural color, the space looks brighter, and maintenance becomes easier. It’s also a great way to extend the life of your flooring without the need for a full replacement.

A second life for your floor