Choosing the right fan for your room
It may seem simple to choose your bathroom fan, but there are a few factors you need to consider.
Noise
The noise of a bathroom fan is calculated in sones. In general, less than 1.5 sones is considered very quiet and the maximum is about 6 sones.
Power
Power is calculated in CFM (cubic feet per minute). If your bathroom is small, you may want to choose a fan that is between 50 and 60 CFM. For a medium-sized room, between 70 and 90 and for a large room, 100 and more.
Want an accurate measurement? Use this formula: Width x length x height x 0.13. We recommend that you use a fan that is more powerful than you need to be in order to remove all the humidity.
Features
You can have a real all-in-one little gadget with what's on the market:
- Light
- Heated lamp
- Timer
- Humidity sensor for automatic start
If you choose a multi-function fan, consider giving it more than one switch to avoid turning everything on and off at once.
Look
You have many options, but be aware that many fan models look like simple light fixtures for a design that is both practical and subtle.
Choosing the right exhaust duct
Choose a short, straight exhaust duct, as this has a direct impact on the performance of the fan. A flexible duct attached to a short rigid duct is ideal.
If you plan to install your duct in an uninsulated space (for example, the crawl space under the roof), choose an insulated duct to prevent the evacuated moisture from turning to ice.
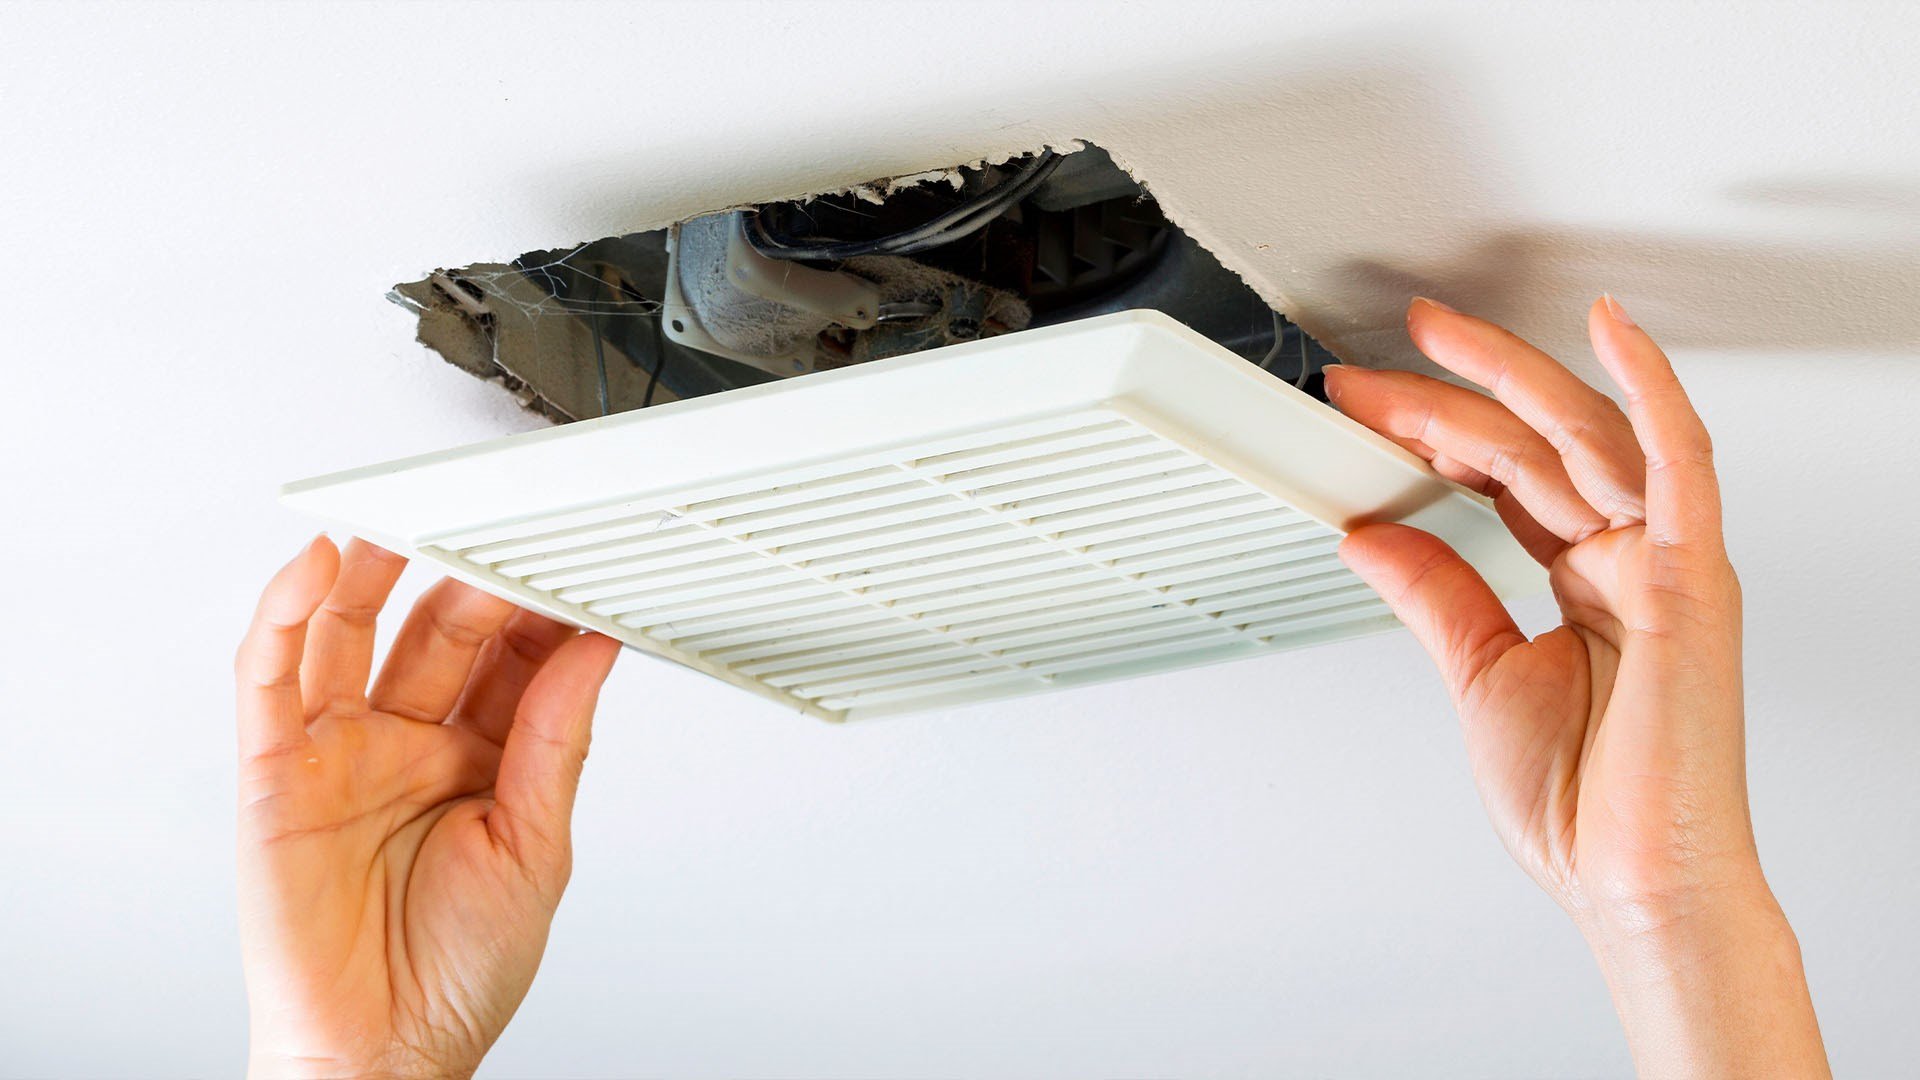
Installation and replacement of your unit
If you are just replacing your outdated fan, you can simply connect the new one to the components of the old one (see first procedure).
If you are adding a fan for the first time, you will need to drill a hole in the ceiling and outside for the air outlet (see second procedure).
Preparing the work area
- Protect the floor with a sheet or tarp under the location of your fan.
- Turn off the power to the bathroom from your electrical panel.
- Prepare your tools:
- Screwdriver
- Hammer
- Exacto type precision knife or drywall saw
- Mask
- Safety glasses
- Protective gloves
- Shingle saw (for a first fan)
- Wire connectors
- Manual scaffold or ladder (for first fan)
- Shingle nailer (for first fan, roof outlet)
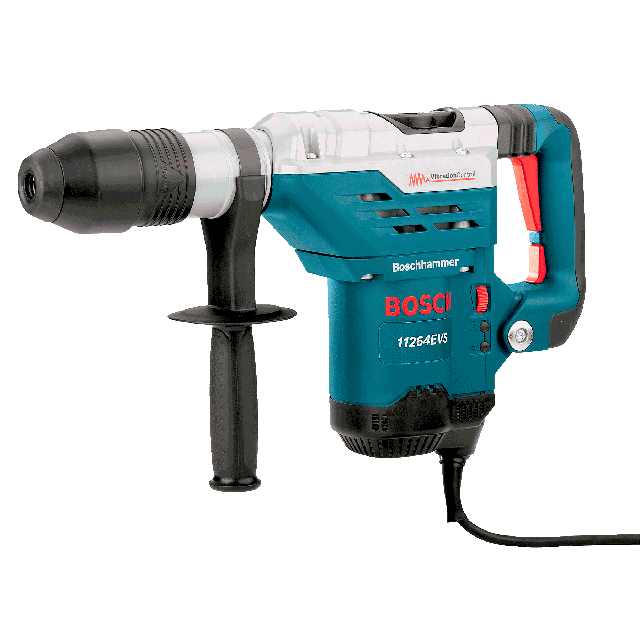
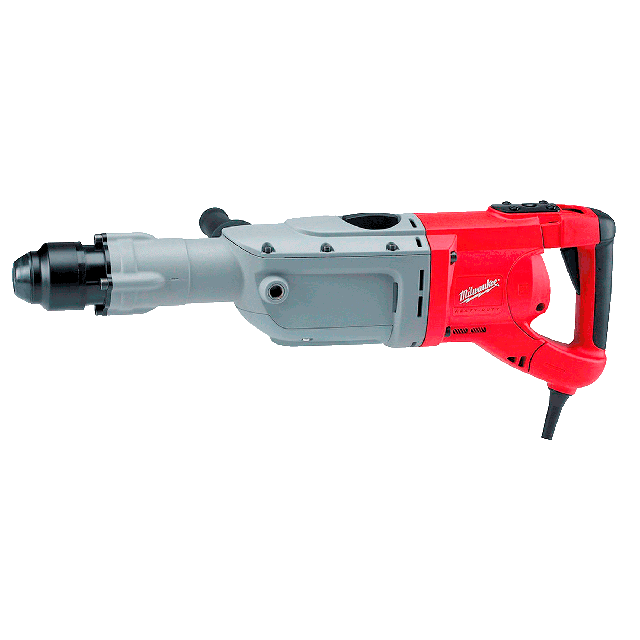
- Rotary hammer (for first fan, wall outlet)
If you are replacing your old fan
Location of the unit
- Measure the hole in your current fan, or just bring the cover to shop. Be aware that if the new unit is smaller or larger, you can still make the adjustment.
- If the new fan is smaller, screw a piece of drywall the size of the section to be plugged to a longer piece of wood and insert it into the opening.
- If the new unit is larger, press the fan housing (not the cover) flat against the ceiling and trace the outline. Then cut it out with a drywall saw (or Exacto precision knife).
Installation
- Remove the cover from the old fan.
- Recheck that the power is turned off. A circuit checker is available at the hardware store for a small fee.
- Remove the fan motor and go into your attic above the unit to remove the mounting screws. If you don't have access to the attic, you can enlarge the opening to reach the screws and close it up using the same procedure explained for installing a new unit that is smaller than the old one.
- Disconnect the exhaust duct.
- Remove the fan from the ceiling and disconnect the wires.
- For this step, you can either go to the attic or install it from the bathroom. If you are in the attic, first place the duct over the fan and then position the unit in the hole. If you are installing from the bathroom, insert the rigid duct into the hole and press it against the edge of the ceiling. Then, slide the fan into the hole, making sure to align the duct with the space provided on the unit. If you are installing from the attic, you can install the rigid duct before positioning the fan.
- Screw the unit surround to the bathroom ceiling to hold it in place.
- Return to the attic and extend the fan's suspension bars (arms).
- Make sure your fan is properly positioned and screw the unit or the end of the bars to the parallel joists.
- Connect the exhaust duct to the fitting and seal the joint with construction tape.
- Remove the junction box cover and connect the house power wires to the new fan wires. To do this, remove about 3 cm of rubber from the end of the wires and bind them with a wire connector.
- Close the cover of the junction box and screw it on.
- Return to your bathroom and add the fan cover.
Your fan is now replaced. If you hear a loud or abnormal noise the first time you use it, turn off the power and make sure everything is plugged in and secured.
Installing a fan for the first time? Here's how to do it.
If this is your first bathroom fan
Location of the unit
- If your fan is equipped with a humidity sensor, avoid placing it too close to a window, which could trigger the unit.
- Do not install the unit over a shower or bath unless specifically allowed in the installation manual.
- Press your new fan casing (not the cover) flat against the ceiling and trace the outline.
- Make sure there are no wires that could be damaged above the location and cut the area with a drywall saw (or an Exacto precision knife).
Installation
- Remove the motor from the new fan. It is heavy and may interfere with your installation.
- Double-check that the power is turned off. You can buy a circuit tester at the hardware store for a small fee.
- Make a hole of the desired size.
- For this step, you can either go to the attic or install it from the bathroom. If you are in the attic, first place the duct over the fan and then position the unit in the hole. If you are installing from the bathroom, insert the rigid duct into the hole and press it against the ceiling edge. Then, slide the fan into the hole, making sure to align the duct with the space provided on the unit. If you are installing from the attic, you can install the rigid duct before positioning the fan.
- Screw the unit surround to the bathroom ceiling to hold it in place.
- Return to the attic and extend the fan's suspension bars (arms).
- Make sure your fan is properly positioned and screw the end of the bars to the parallel joists.
- Connect the exhaust duct to the fitting and seal the joint with construction tape.
- Remove the connection box cover and connect the fan wires to a house power wire previously routed to the fan. To connect them, remove about 3 cm of rubber from the end of the wires and bind them with a wire connector.
Outlet for moisture removal
- Choose where you want to vent moisture: use a roof vent with built-in damper for a ceiling vent and a wall vent with built-in damper for a wall vent. It is not recommended to install the vent in the soffit because of the risk of moisture re-infiltration into the attic.
- From the inside, first make a pilot hole in the roof or wall where you want to vent the moisture.
- From the outside, drill a hole slightly larger than the vent, using the collar of the duct as a marker. If you choose the wall vent and your siding is brick or concrete, use a rotary hammer (at Simplex, the 4" or 4" 1/8 bit is also available as an extra).
- Attach the flexible pipe to the vent using a collar and construction tape.
- Insert the flexible pipe into the outlet.
- Add expanding foam between the walls of the vent and the pipe to insulate.
- Seal the base of the vent to the wall with caulk or to the roof with roofing cement.
- Replace any shingles or siding that has been removed around the vent.
Your fan is now added. If you hear a loud or abnormal noise when you first use it, turn off the power and make sure everything is plugged in and secured.
Planning to renovate the entire bathroom? Check out our handy guide for lots of free tips to help you with the work. And if you're short on tools, check out our complete directory of rental tools!